Step 3: Provision Inventory
Meridian installs with a base configuration that automatically begins service-level monitoring and reporting as soon as you identify and catalog (provision) the managed entities (nodes, IP interfaces, SNMP interfaces, and services) that you want to monitor.
The default configuration also enables self-monitoring of the OpenNMS service, and discovers a single node with the interface 127.0.0.1 (see First monitored node).
Meridian has three methods for provisioning your network’s inventory: automatic discovery, directed discovery, and using the REST API. Regardless of the method, provisioning is an iterative process. You will need to fine-tune your results to exclude from or add to what you monitor.
This Quick Start guide presents a very basic example using automatic discovery to provision nodes through SNMP.
SNMP in Meridian
Meridian uses SNMP to understand network and node topology, collect performance data, and enable SNMP service monitoring of nodes. SNMP service monitoring ensures that SNMP is available on a given node by checking if the OID returns a specific value. Tracking the state of this value can be used to trigger a notification if it represents an error or another condition that may need attention. The service also gathers basic information about a monitored device, including the device type, its name, its location, and so on.
Configure SNMP for provisioning
To collect data through SNMP or monitor the availability of SNMP services on a node, you need to configure SNMP for provisioning. This ensures that Meridian can immediately scan newly discovered devices for entities. Meridian updates the network topology—the visual representation of the monitored network and its components—as it provisions nodes.
This procedure illustrates a very basic SNMP configuration using the default parameters. You can customize these values for your own network’s needs, although the default settings are sufficient for a basic Meridian setup:
-
Click in the side menu.
-
Under Provisioning, click Configure SNMP Community Names by IP Address.
-
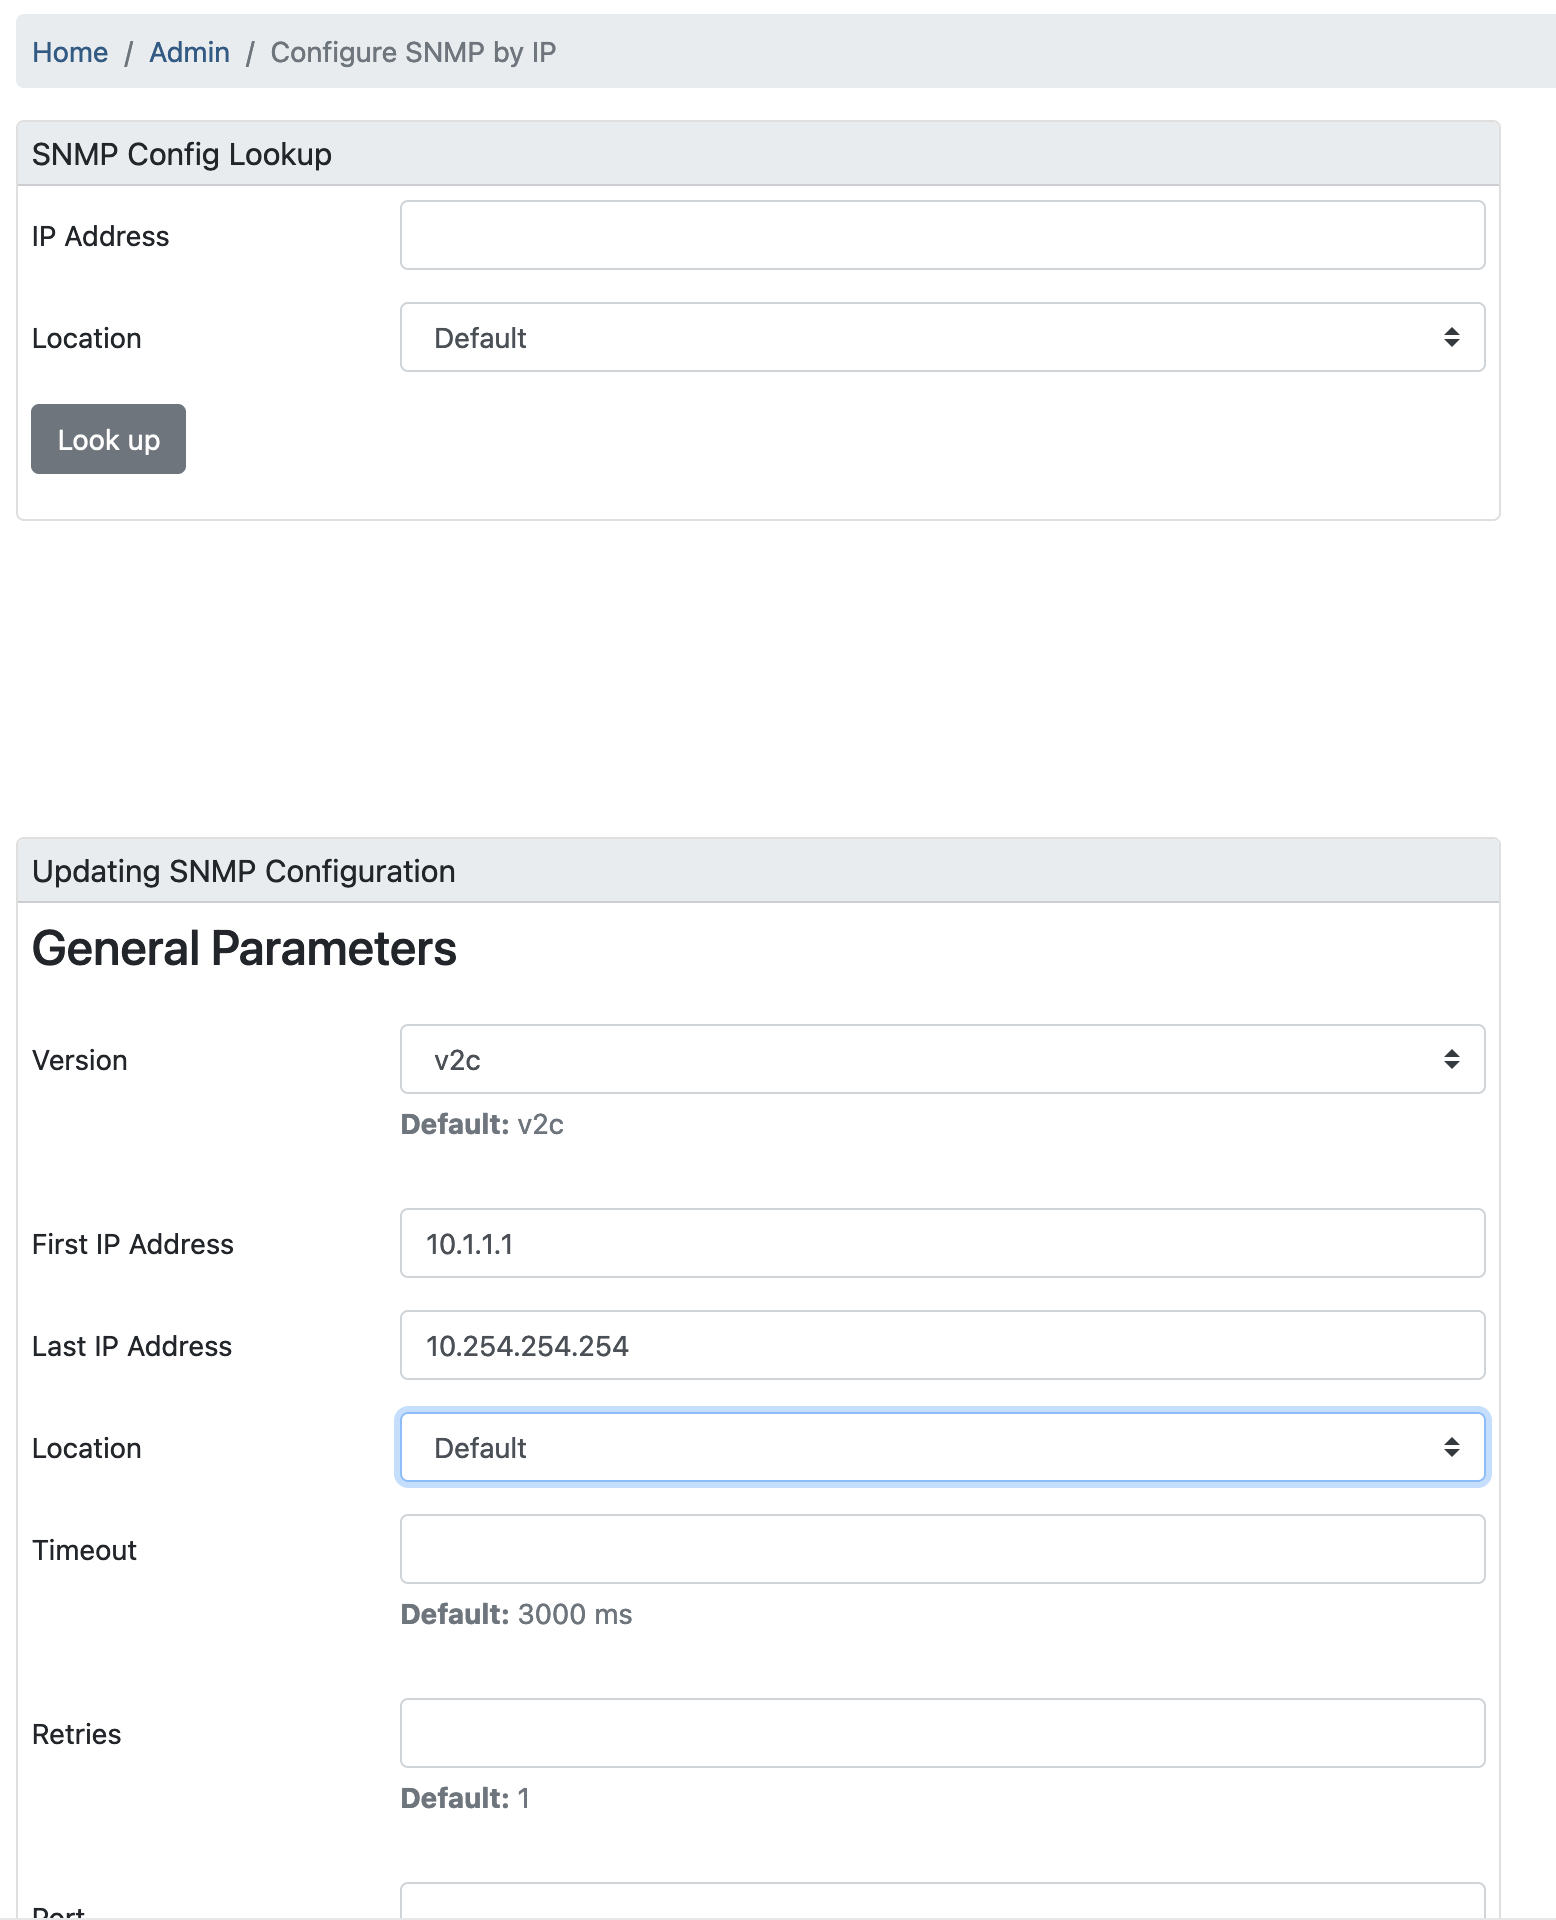
Configure the community names as appropriate for your environment:
-
Enter a valid IP address in the IP Address box, and click Look Up.
-
Choose an SNMP version (
v2corv1) from the Version list.If you are using SNMPv3, you need to configure details for a User-Based Security Model (USM) user instead of a community string. Meridian supports SNMPv3 and USM, but these topics are outside of the scope of this guide. -
(Optional) Define a range of IP addresses by typing the first and last address of the range into the First IP Address and Last IP Address boxes, respectively.
-
In the v1/v2c Specific Parameters section, enter the new community string in the Read Community String box.
-
-
Click Save Config.
This configuration sets up SNMP for agents listening on IP addresses 10.1.1.1 through 10.254.254.254:
These settings are automatically optimized into snmp-config.xml.
For an example of the resulting XML configuration, see Configure SNMP community names in the Deep Dive section.
| It is possible to use metadata expressions in the fields Security Name, Read Community, Write Community, Auth Passphrase, and Privacy Passphrase to reference credentials stored in the Secure Credentials Vault. Please note that only the global scope is available here. |
Create a requisition
A requisition is a set of nodes (networked devices) to be imported into Meridian for monitoring and management. Organizing nodes with a similar network monitoring profile into a requisition (for example, routers or switches) lets you assign the same services, detectors, and policies for network monitoring behavior. A requisition includes a default foreign source definition that serves as a template to define the services to detect on (DNS, FTP, ICMP, and so on), the scan interval for discovery, and the policies to use when provisioning.
While you can perform discovery without a requisition and edit it later, we recommend that you create a requisition before discovery. You can iteratively build a requisition and import its nodes into Meridian later. Doing this will process all additions, changes, and deletions at once.
This procedure describes how to create an empty requisition using the default foreign source definition:
-
Click in the side menu.
-
Or, click in the side menu, then under Provisioning, click Manage Provisioning Requisitions.
-
Click Add Requisition, type a name (for example, "QuickStartRequisition"), and click OK.
| The requisition’s entry in the Requisitions list remains red until you synchronize it with the database. You will synchronize the list after you configure discovery settings. |

After the requisition is created, you can add nodes to it.
| The requisition editor in the OpenNMS web UI is designed for small-scale use. Do not attempt to use this interface to edit requisitions that contain more than a few dozen nodes: it is not designed for that use case and will fail. |
The following pages describe additional configuration options for requisitions:
Configure discovery
For this Quick Start guide, we assume that you do not have a list of nodes to start from. This procedure uses the default general settings for parameters like timeouts and retries. You can customize these for your own needs.
To configure discovery, follow these steps:
-
Click in the side menu.
-
Under Provisioning, click Configure Discovery.
-
In the General Settings section, select the requisition that you just created from the Requisition list.
-
(Optional) Change the default values, as desired.
-
-
Click Save and Restart Discovery in the top-left of the screen.
-
Return to Manage Provisioning Requisitions and click Synchronize the Requisition (
 ).
). -
Choose a scan option and click Synchronize.
You can view imported nodes by clicking in the top menu bar.
Beyond Quick Start
Beyond this guide, you can complete additional tasks to provision your system:
-
Use plugins to integrate with external systems.
-
Specify more complex entity detection with OpenNMS detectors (ActiveMQ, DNS, FTP, JDBC, TCP, and so on).
-
Create policies to manage provisioning behavior.
Refer to Provisioning in the Deep Dive section for details about these and other provisioning-related tasks.