Step 2: View and Create Situations
Now that you have selected the clustering engine, ALEC automatically begins to identify situations. This requires new alarms to be triggered within your OpenNMS environment, so—depending on your network’s usual activity—this may take some time.
As alarms are grouped into clusters, ALEC creates situations to represent their relationships. We recommend that you evaluate situations as you see them, and address them as appropriate.
View all situations
After alarms have been triggered in OpenNMS, the clustering engine evaluates and groups them, and creates situations as appropriate. To view current situations in the OpenNMS web UI, click Plugins > ALEC in the top menu bar. The Situation List is displayed:
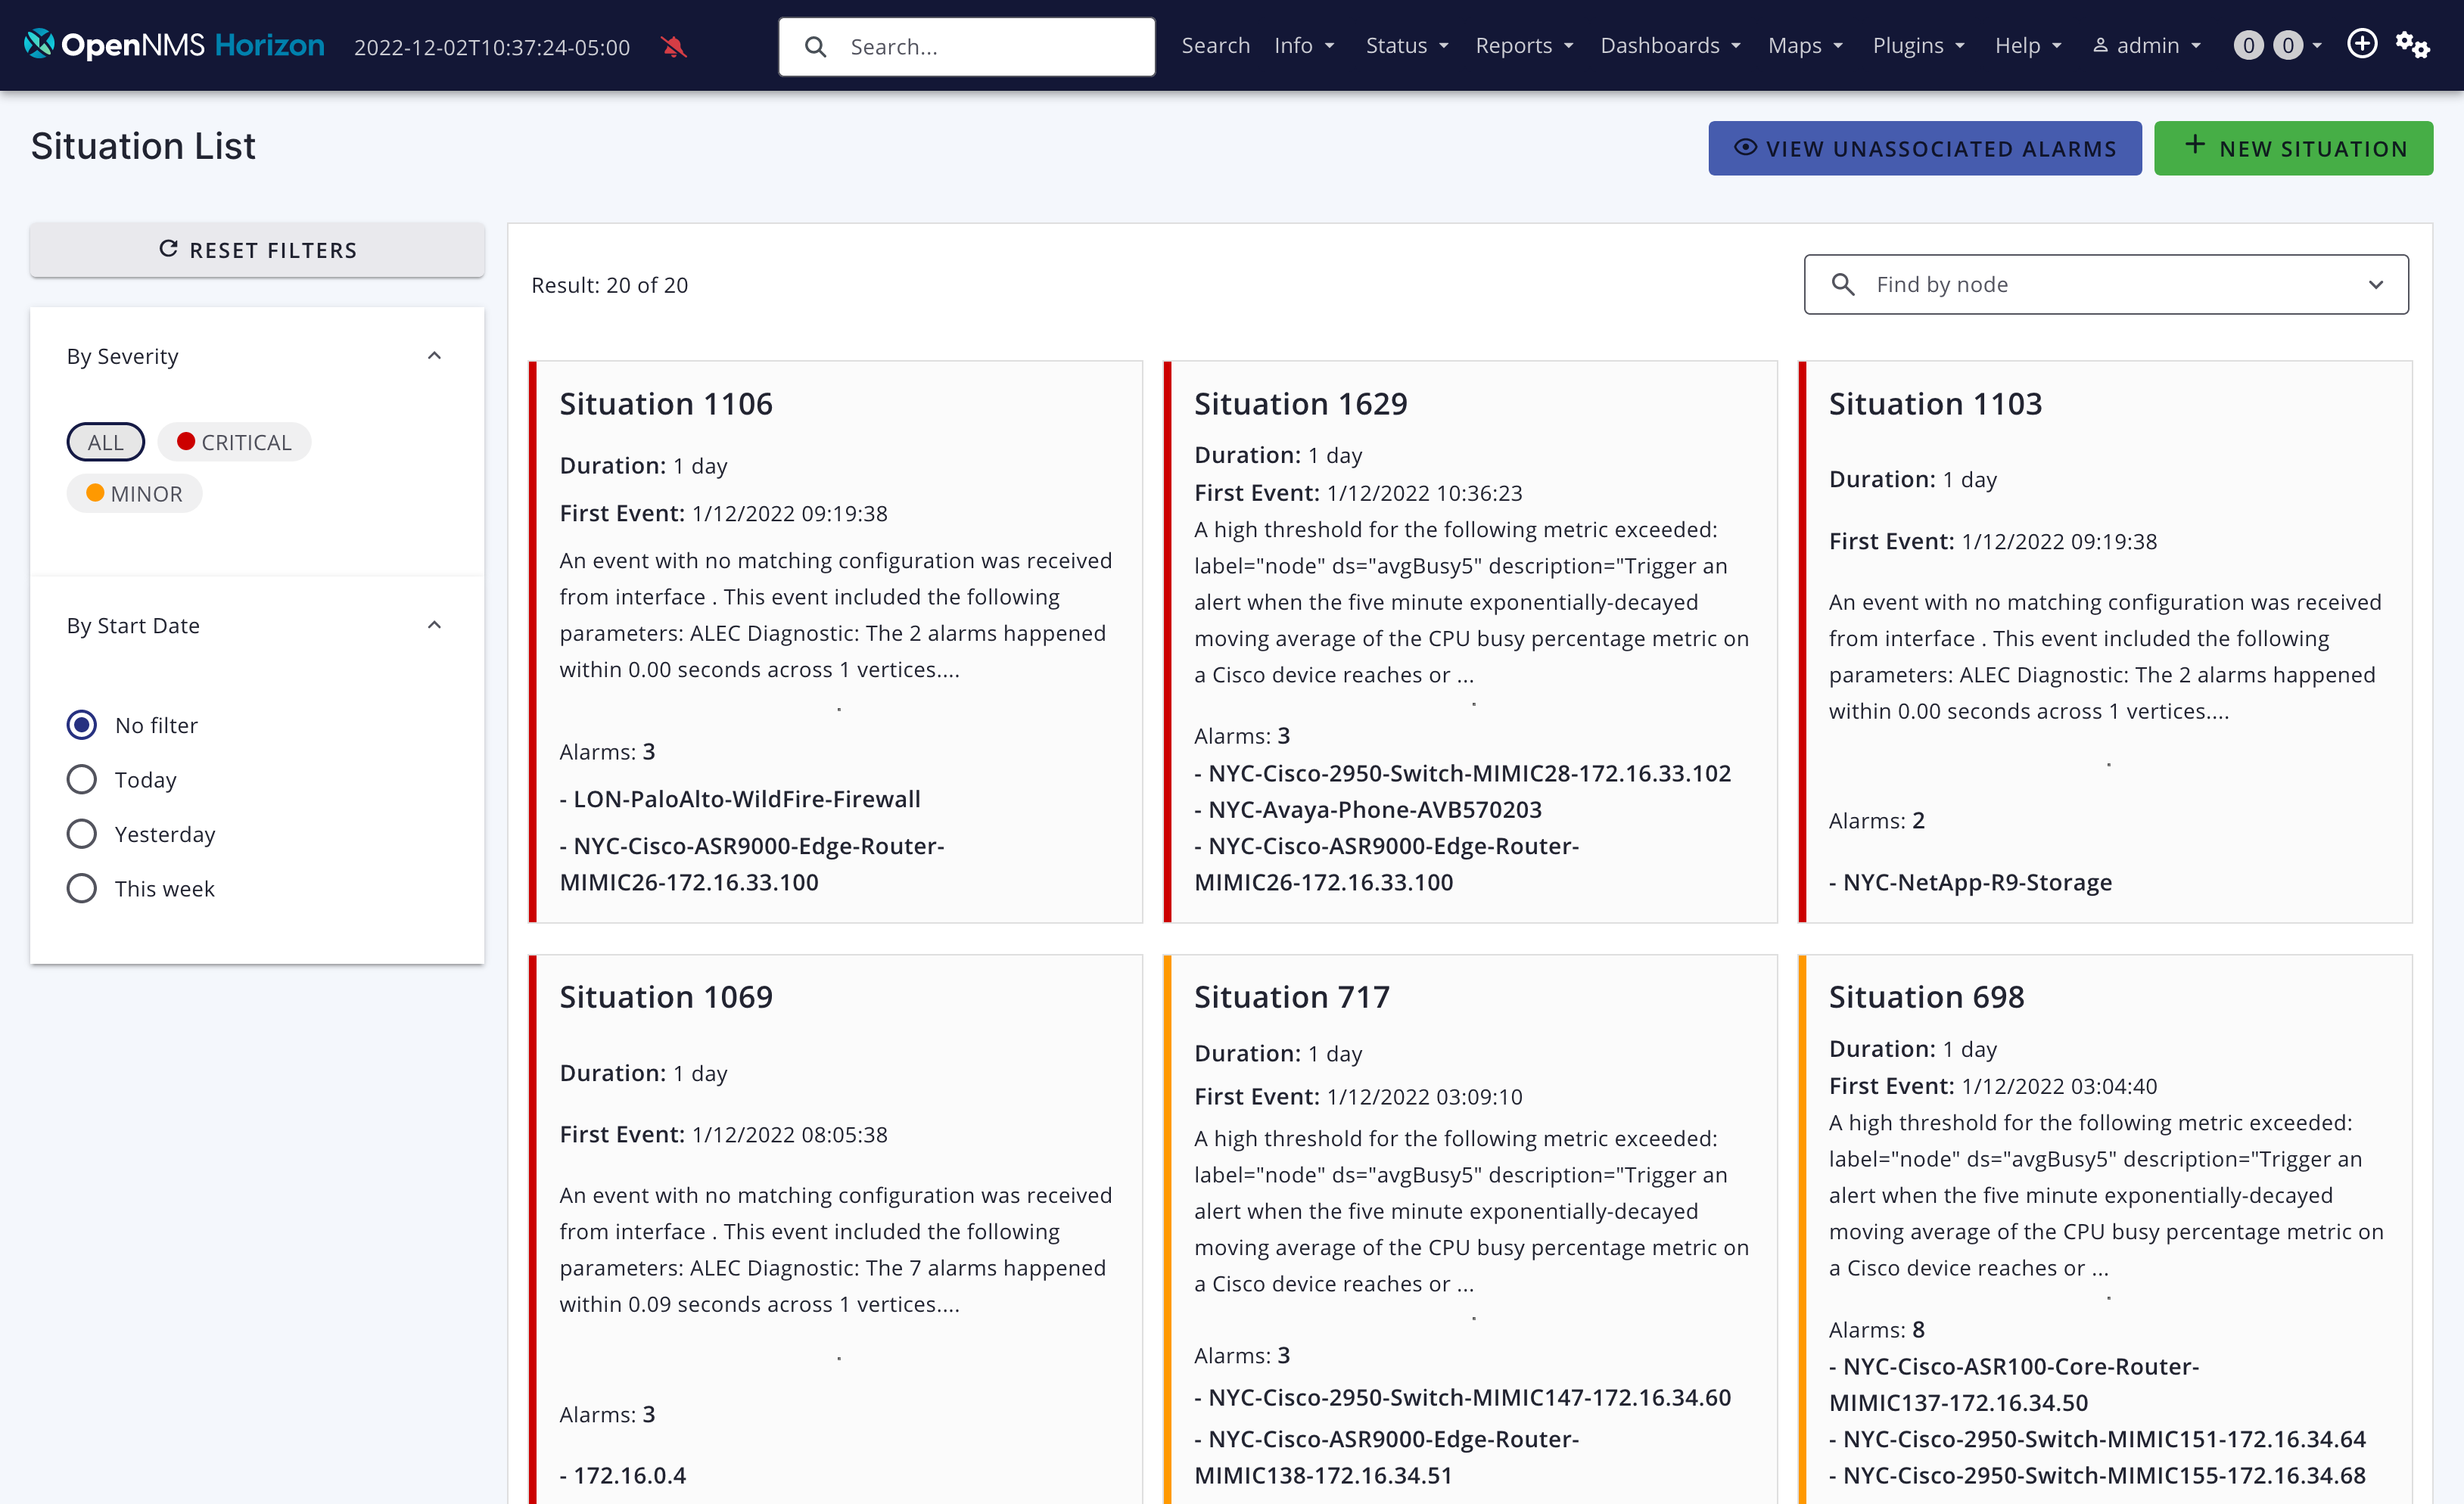
Active situations are sorted from most to least severe. Use the filters at the left of the screen to modify the sorting method. To return to the default sorting and filtering settings, click Reset Filters.
View and manage a situation
To view more information and take action on a specific situation, click its entry in the Situation List. The situation details page is displayed:

The title and description are automatically generated when the situation is created. The First Event field is populated when the situation is created, and the Last Event field is automatically updated to indicate the most recent alarm activity.
Manage situation
You can take the following actions on a situation from its details page:
-
Acknowledge: Indicate that the situation has been seen and is being addressed. Your account will take ownership of the situation within OpenNMS. All associated alarms will also be acknowledged, and your account will take ownership of them.
-
Clear: Indicate that no action needs to be taken and remove the situation from the list of active situations. All associated alarms will also be cleared.
-
Reject: Indicate that the alarms in the situation are not related.
You can also maintain sticky memos and journal memos for the situation. Sticky memos note key information for the situation overall (for example, the potential root cause). Journal memos log any important work or investigation steps; this can include root cause analysis or developing a fix for the underlying issue.
Follow these steps to create a memo:
-
Navigate to a situation’s details page.
-
Click the pencil symbol beside Sticky Memo or Journal Memo, as desired.
-
Type your note in the text box.
-
Click the green check symbol to save the memo.
Manage alarms
You can take the following actions on individual alarms associated with a situation:
-
Clear: Indicate that no action needs to be taken and remove the alarm from the list of active alarms.
-
Acknowledge: Indicate that the alarm has been seen and is being addressed. Your account will take ownership of the alarm within OpenNMS.
-
Move: Move the alarm to a different situation. Use this when another situation more accurately encompasses an issue.
-
Remove: Remove the alarm from the situation. Use this when an alarm has been incorrectly associated with a situation.
| The move and remove options help train ALEC to better identify relationships between alarms and more accurately cluster them into situations. |
Follow these steps to manage individual alarms:
-
Navigate to a situation’s details page.
-
Select an alarm from the Alarms list.
-
Evaluate the alarm and select the appropriate action (for example, acknowledge an alarm that you will be working on).
-
(Optional) Create a sticky memo or a journal memo.
-
Click the pencil symbol beside Sticky Memo or Journal Memo, as desired.
-
Type your note in the text box.
-
Click the green check symbol to save the memo.
-

Create a situation
You may occasionally notice alarms that are related, but that were not grouped into a situation. In these cases, you can create a situation to represent such relationships:
-
Click Plugins > ALEC in the top menu bar.
-
Click New Situation and type a description in the Description box.
-
Type an explanation of the situation in the Diagnostic Text box. This can include the affected nodes, details of any root-cause investigation, and other relevant information.
-
Add alarms to the situation by finding them in the Add Associated Alarms list and selecting the checkbox beside their names.
-
Click Add Situation.
View unassociated alarms
In addition to creating and tracking situations, ALEC also displays alarms that are not associated with any situations. To see the list of unassociated alarms, navigate to Plugins > ALEC in the top menu bar, and click View Unassociated Alarms.
You can select one or more alarms and click Move to associate them with an existing situation.