Step 1: First-Time Login and Engine Configuration
This section explains first-time login tasks and how to configure a correlation engine. ALEC includes two correlation engines: clustering and deep learning. The engine that you choose determines how ALEC groups alerts into clusters.
This Quick Start guide explains how to set up and configure the clustering engine. The deep learning engine requires additional setup, and is covered as an advanced topic in the administration section.
After you install ALEC, you can access it via the OpenNMS web UI. Log in to the web UI and click Plugins > ALEC in the top menu bar. An introduction to the ALEC plugin is displayed, explaining the plugin and its key benefits.
First-time login and data choices
When you first log in and navigate to the ALEC plugin, OpenNMS prompts for permission to send usage data to The OpenNMS Group. We use this anonymized information to help determine product use and improve the ALEC plugin. We do not share it with third parties, and will not use it for sales purposes.
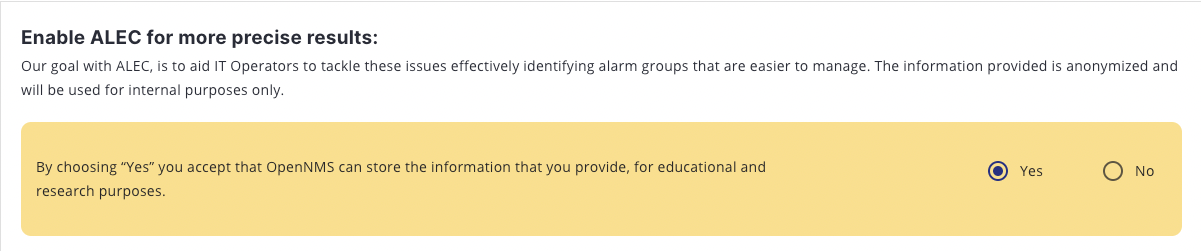
Select Yes or No, and click Continue. The correlation engine configuration screen is displayed.
Configure clustering engine
When you access the ALEC plugin for the first time in the web UI, you are prompted to select a correlation engine.
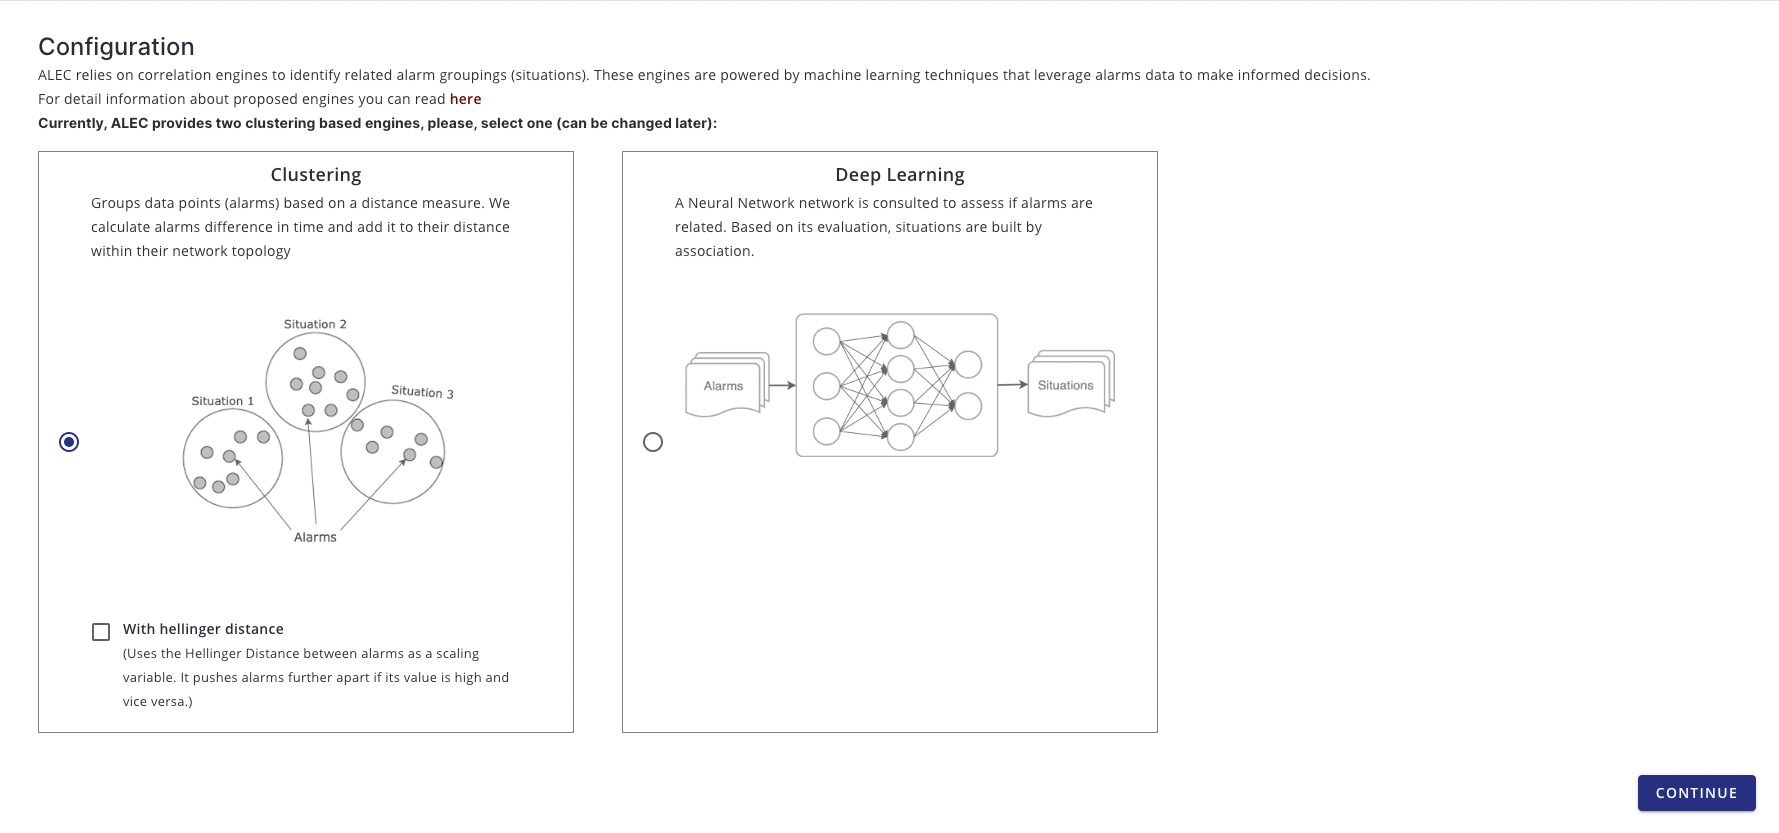
Choose Clustering, and click Continue. The clustering engine is now set.
| After you select a correlation engine, you can change and update it only via the Karaf shell. |
Beyond Quick Start
For more information on ALEC’s correlation engines, see the Correlation Engines section.